Blogger is OK. But I honestly like WordPress better. Therefore I am moooooooving over there! Here are 11 links to the new blog:
I chose to post it eleven times because that happens to be one of my favorite numbers. I'm still leaving the posts on this blog, I will probably jst make new posts on my other one and link them to here. Also I need a better URL so give me some suggestions yo.
peace.
Kya

A L I E N
Saturday, 18 May 2013
Monday, 15 April 2013
HOW I WEAR: CIRCLE SKIRTS
Here is a video on how I style circle skirts:
I hope you like it!

OUTFIT #1:
shirt: topshop
sweater: Disneyland(!!!!!)
skirt: made it myself *brushes shoulder*
Socks: Forever 21
Shoes: Jeffrey Campbell 99 Tie
OUTFIT #2:
leather jacket: thrifted and then altered by my gramma to fit me.
(it used to look like this:)

swim/bodysuit: Blackmilk clothing ribs swimsuit
skirt: DIY'ed by moi *flashes killer smile, teeth sparkle*
shoes: Jeffrey Campbell 18th street
OUTFIT #3:
shirt: sewn by the one and only(that's me)*does backflip*
Jacket: Levi's
Skirt: First circle skirt I ever made *bows while audience applauds*
shoes: Vans
skirt: DIY'ed by moi *flashes killer smile, teeth sparkle*
shoes: Jeffrey Campbell 18th street
OUTFIT #3:
shirt: sewn by the one and only(that's me)*does backflip*
Jacket: Levi's
Skirt: First circle skirt I ever made *bows while audience applauds*
shoes: Vans
Kya
Monday, 1 April 2013
DIY "TURTLENECK" SLEEVELESS CROP TOP FROM T-SHIRT/OOTD


You will need:
- T-shirt(I got mine from walmart, it's actually so soft you don't even know)
- Scissors
- Pins/Chalk for marking
- Sewing machine(You could probably use a needle and thread if you want


3. Sew it up! If you aren't sure if it will fit over your head just hand sew a temporary stitch to try it on and adjust it as needed. Cut off the excess fabric.


6. Measure the length you want it and double that, you'll be folding it in half. I used the whole length so I could fold the turtleneck over again when it was sewn on, make it shorter if you don't want it to be like that.

7. Sew along the side to make it a tube shape.


8. Put the turtleneck inside the neckline right sides together(the side you want on the outside when it's done). Match up the seam of the turtleneck with one of the shoulder seams for a more professional look and sew.
9. Turn it right side out and you're done! If you want it tight you can take it in on the sides or cut strips and tie them together to make fringes.


Jeans-topshop//Shoes-(My brothers)Vans//Flower Crown Thing-DIY
Kya
Sunday, 31 March 2013
March 31st, 2013
Happy Easter Sunday!
I'm at my grandparents house right now and my grandma sews so she helped me make this dress. It's made with some burned velvet fabric and it's a babydoll-ish shape. The fabric was difficult to use so it was good she helped me. (By the way yeah my socks are crazy, they were the only pair I brought for some reason and my legs are gross so sorry! Hahaha)


 I'm really bad at getting my picture taken, sorryyyyyy.
Kya
I'm at my grandparents house right now and my grandma sews so she helped me make this dress. It's made with some burned velvet fabric and it's a babydoll-ish shape. The fabric was difficult to use so it was good she helped me. (By the way yeah my socks are crazy, they were the only pair I brought for some reason and my legs are gross so sorry! Hahaha)


Kya
Sunday, 24 March 2013
DIY CHAINED COLLAR/SWEATER CLIPS(pictures, written instructions and video)

I'm doing two little aliens but you could really do anything! There are a lot of needle felting tutorials online and it's actually pretty easy, you just have to be patient unless you enjoy stabbing yourself with a tiny, very sharp needle.
What you'll need:
- Wool for needle felting(I used three different colours but you only need two)
- Felting needle
- Chain
- Pliers(maaaaaaayyybe it would be better if I used actual jewelry pliers, just maaayyybe)
- Two safety pins


Put some more felt down to attach the safety pin to the head as shown above^


TADA DONE DONE DONE. You can wear these attached on your collar, a cardigan, or like me, just a t-shirt!

Aren't the galaxy leggings and alien clips great together? And the alien theme matches my blog title nicely :)
I made a video too if you would rather watch that instead.
I hope you like this tutorial and if you did please share it with your friends and/or fam jam. Thank you for reading and I hope you come back! Please comment if you have any questions or just want to say hi :) Loooooooooooooooove yoooooouuuuuuuuuuu

Kya
Tuesday, 19 March 2013
Sorry Not Sorry
Just kidding I actually am sorry for barely everrrrrr posting lately. BUT I'M ON VACATION. I did buy some really awesome stuff from topshop though so when I get back home I'll maybe post a haul and lookbook! I might take some pictures of some outfits I made and post that too. Please give me requests! I would love to know what you guys want to see. Let me know what you guys like reading about in the comments. Promise I'll read all of them and probably even respond. If anyone actually reads this blog I really appreciate you and thank you so much.
To anyone and everyone reading, it would be super duper amazing if you commented! I need some internet friends. Thank you all again and I'll reaaalllyyy try to post more!
Kya
To anyone and everyone reading, it would be super duper amazing if you commented! I need some internet friends. Thank you all again and I'll reaaalllyyy try to post more!
Kya
Saturday, 9 March 2013
HAPPY SPRING BREAK AND WHAT I'M DOING
Wednesday, 20 February 2013
Mille Feuilles, Fake Half Days and Unif Kickflip Dress
Today(a.k.a yesterday but let's just pretend it was today) and tomorrow I had/have a half day at school. You'd think I'd be excited about this considering how much I totally loathe school, but no, not even close(okay a little because more time at home but I'm still mad). Our half days aren't like the half days in elementary school, what they do at my school is keep all the classes the same length and take away our lunch. WHAT. no. stoooooooooop.
I ALSO GOT MILLE FEUILLES. (translation: thousand sheets) It is the most delicious thing in the world. And they finally had it at the little french bakery. So I bought two. Of course. And I had tea with it and watched tv.


Aaaaaaaaand my Unif Kickflip dress arrived in the mail! I ordered it off of nasty gal and it actually came pretty fast. It is soooooo so so so pretty and flattering(not that you can tell at all from the pictures. I'm really unphotogenic, if that's a word, if not we'll make it one) and comfortable too! It's just perfect. And I got a lot of complements on it, INCLUDING FROM MY TEACHER WHO HATES ME. She said "Kya, ton ensemble allaire tres chic aujourd'hui!"(I'm in french immersion) Which translates roughly to "I hate you". I'm kidding :) "Your outfit looks very 'chic' today". But then she looked at my shoes(Jeffrey Campbell 18th street) and said "but your shoes are kind of scary" but she said it with a smile so it was still good.
And the reason I'm holding my voodoo book is because in english I'm doing a 2,000 word essay on whatever I wanted to and I chose to do it on vooooodoooooooooo because I love voodoo. And it's not bad and I want to tell people that. Most hoodoo is bad but I won't do that, it's just cool to learn about other cultures so I'm reading about that two a little. I'm excited for writing it because it's something I'm really interested in but I'm not excited about the fact that it's due on march 8th and he JUST gave us the project.


(p.s. if my arm looks messed up it's because I Photoshopped out a pretty big mysterious bruise that looks like I have a disease)
Monday, 18 February 2013
DIY LEATHER POUCH/CLUTCH
I've been wanting to make one of these for a while and finally got around to doing it so I decided why not make it into a tutorial so all you lovely people out there can make one too! It's a leather clutch that is kind of a pouch style that I've seen on a couple blogs a loooooong time ago and once or twice recently. So here's how I did it:
 Materials:


 Materials:
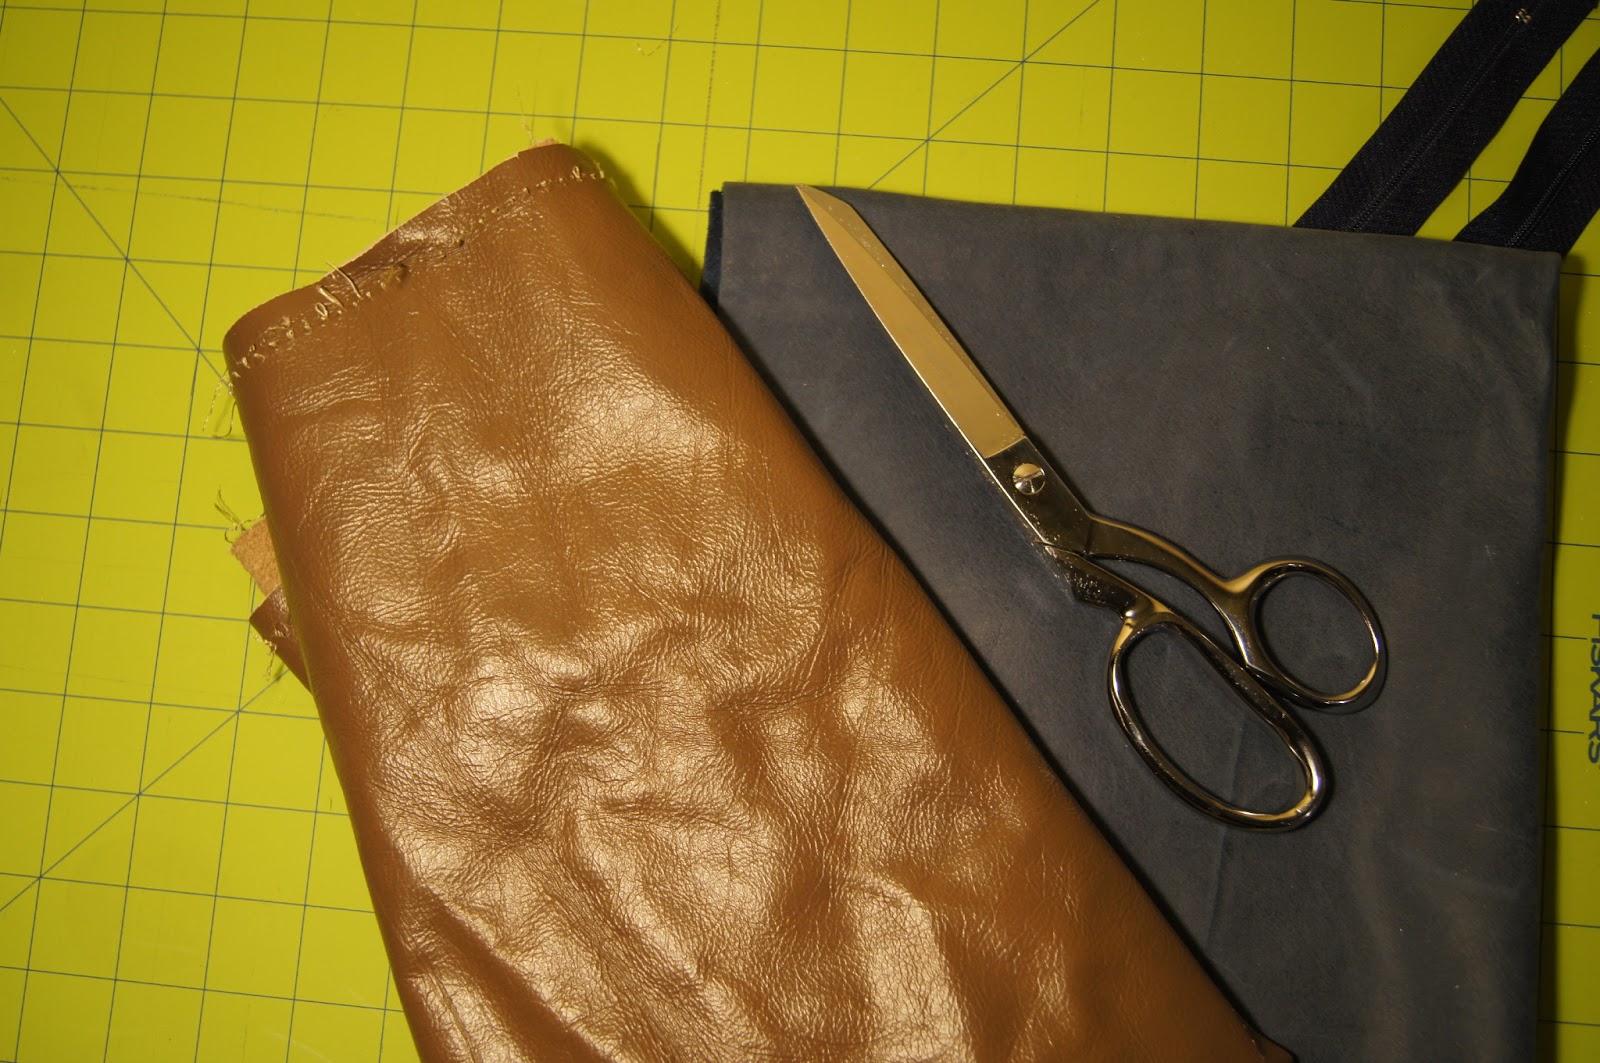
- Faux or real leather
- Scissors
- A sewing machine and thread
- A zipper
- A needle(maybe, only if it gets too hard to sew with a machine)

Cut out the leather a little bit bigger(or smaller) than you would like it to be to allow room for sewing on the zipper and around the sides. For the blue clutch I just randomly cut it and for the brown one I measured it with that binder thing.

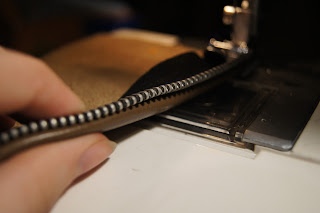
Pin one side of the zipper with the right side up(the side that you want to be on the utside when it's finished).

And seeeewwwwwwwww...
Then repeat on the other side.

Flip the zipper over so it's on the wrong side(the inside of the bag) and sew it down. I only did this on the brown clutc but it made it look more professional and made it easier to zip and unzip.

Now put the right sides together and sew around all the edges.

Turn it right side out...

WE'RE DONE!
Yay it's pretty AND easy! I hope you try it! If you do post a picture of it on your blog and send me a link in the comments! If you liked this post and want to see more you can subscribe to me on bloglovin :) Thanks for reading.
Kya
(p.s. this tutorial was made for a LEATHER or FAUX LEATHER pouch/clutch. If you were to make it with a lighter fabric I think it would be best to put a lining in it so it's sturdier. If you want me to make a tutorial on that let me know in the comments)
Subscribe to:
Posts (Atom)