T-shirt(I got mine from walmart, it's actually so soft you don't even know)
Scissors
Pins/Chalk for marking
Sewing machine(You could probably use a needle and thread if you want
1. Cut off the neckline and sleeves. If your neck is tight enough even when it's been cut then cutting off the sleeves is optional.
2. Try the shirt on inside out and hold up the sleeves so that the neckline is as tight as it can be without not being able to get your head through. Mark on both sides with chalk or pin it instead.
3. Sew it up! If you aren't sure if it will fit over your head just hand sew a temporary stitch to try it on and adjust it as needed. Cut off the excess fabric.
4. CROP THAT TOP.
5. Measure your neckline and cut it out of your scrap t-shirt fabric (I made mine too big).
6. Measure the length you want it and double that, you'll be folding it in half. I used the whole length so I could fold the turtleneck over again when it was sewn on, make it shorter if you don't want it to be like that.
7. Sew along the side to make it a tube shape.
8. Put the turtleneck inside the neckline right sides together(the side you want on the outside when it's done). Match up the seam of the turtleneck with one of the shoulder seams for a more professional look and sew.
9. Turn it right side out and you're done! If you want it tight you can take it in on the sides or cut strips and tie them together to make fringes.
The things that inspired me for this tutorial are this tutorial by Annika from "the Pineneedle Collective" blog (really awesome blog by the way, and some of the best DIY's eveeeeerrrrrr) and this brooch from etsy. I mixed those two things together, added my own little twist and made this for you!
I'm doing two little aliens but you could really do anything! There are a lot of needle felting tutorials online and it's actually pretty easy, you just have to be patient unless you enjoy stabbing yourself with a tiny, very sharp needle. What you'll need:
Wool for needle felting(I used three different colours but you only need two)
Felting needle
Chain
Pliers(maaaaaaayyybe it would be better if I used actual jewelry pliers, just maaayyybe)
Two safety pins
Take some felt and roll it into a ball. Now stab it all over! Hahaha, but do be careful not to mistake your fingers with the wool and get yourself because IT HURTS SO MUCH and you don't want to get blood on your little alien buddy. It helps if you stab the bottom more to get it smaller so it will be more alien-head-shaped.
Grab whatever colour wool you want for the eyes(I just used black but it would look pretty cool to use another colour)
Take an itsy bitsy piece of black(I probably took a little bit too much) roll it into an oval and stab it onto the head until it's secure.
Put some more felt down to attach the safety pin to the head as shown above^
Hold up the chain where you plan to pin in and measure however long you want it.
Put the chain through the safety pins on each side. You could use a jump ring to attach it to the safety pin but the way I did it makes it so it's easy to change the chain. That way you can have different lengths and colours!
TADA DONE DONE DONE. You can wear these attached on your collar, a cardigan, or like me, just a t-shirt!
Aren't the galaxy leggings and alien clips great together? And the alien theme matches my blog title nicely :)
I made a video too if you would rather watch that instead.
I hope you like this tutorial and if you did please share it with your friends and/or fam jam. Thank you for reading and I hope you come back! Please comment if you have any questions or just want to say hi :) Loooooooooooooooove yoooooouuuuuuuuuuu
I've been wanting to make one of these for a while and finally got around to doing it so I decided why not make it into a tutorial so all you lovely people out there can make one too! It's a leather clutch that is kind of a pouch style that I've seen on a couple blogs a loooooong time ago and once or twice recently. So here's how I did it:
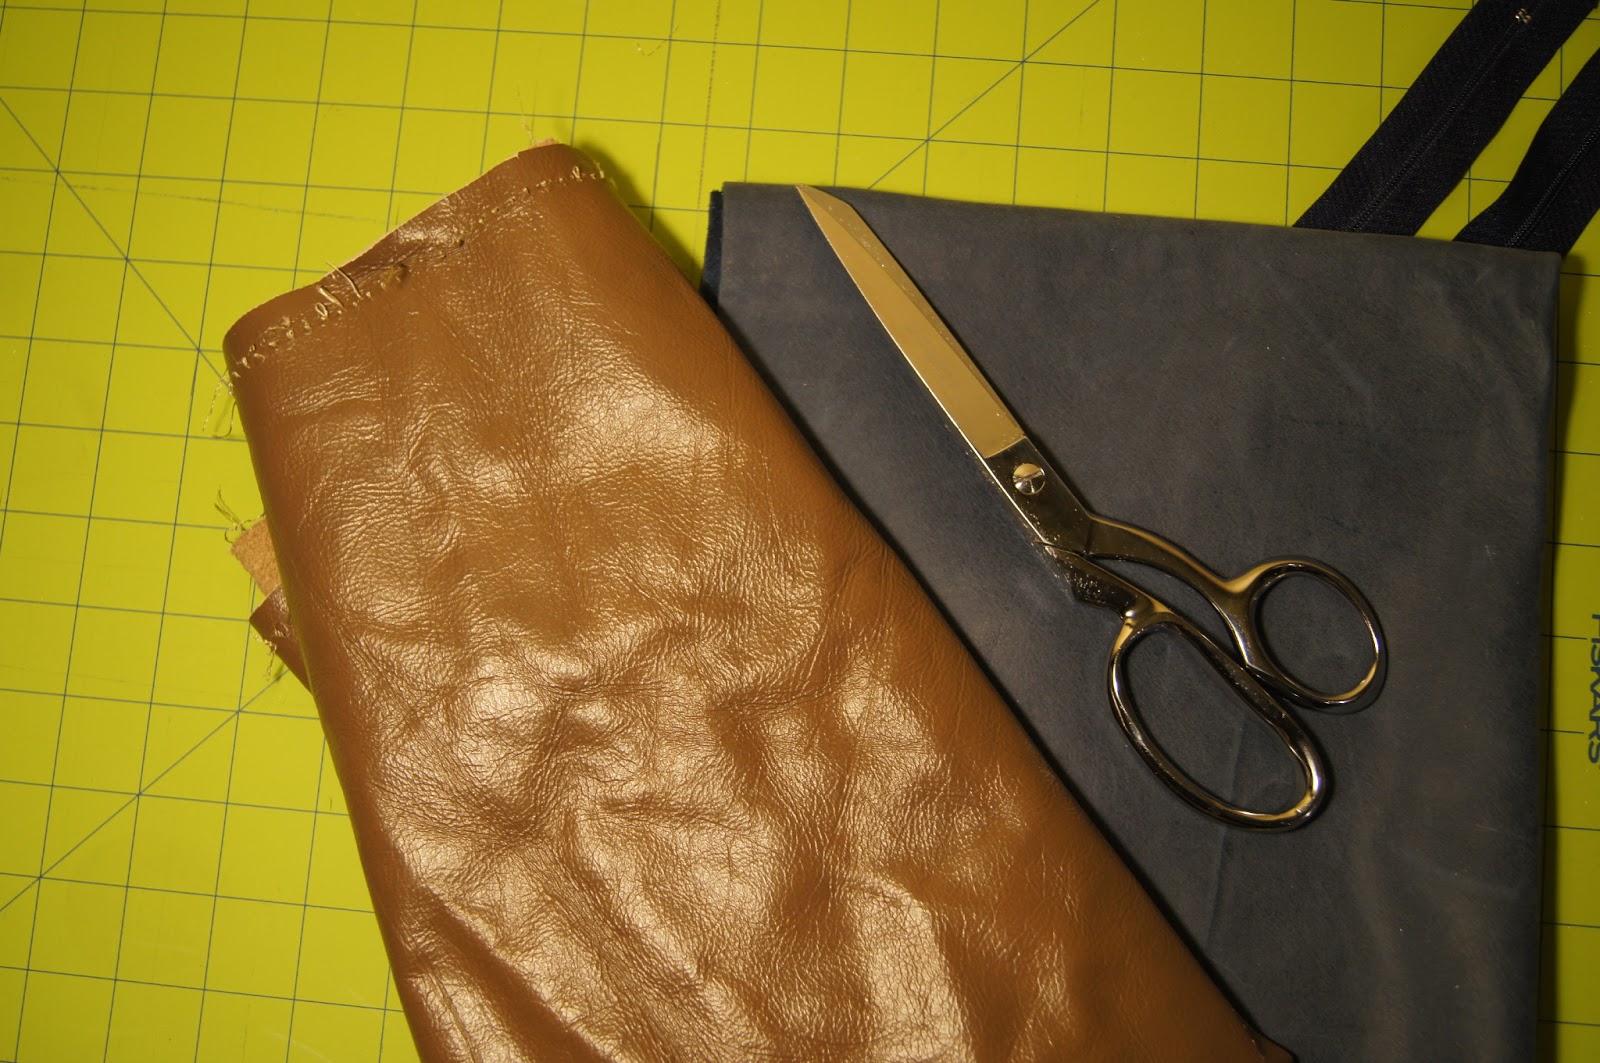
Materials:
Faux or real leather
Scissors
A sewing machine and thread
A zipper
A needle(maybe, only if it gets too hard to sew with a machine)
Cut out the leather a little bit bigger(or smaller) than you would like it to be to allow room for sewing on the zipper and around the sides. For the blue clutch I just randomly cut it and for the brown one I measured it with that binder thing.
Pin one side of the zipper with the right side up(the side that you want to be on the utside when it's finished).
And seeeewwwwwwwww...
Then repeat on the other side.
Flip the zipper over so it's on the wrong side(the inside of the bag) and sew it down. I only did this on the brown clutc but it made it look more professional and made it easier to zip and unzip.
Now put the right sides together and sew around all the edges.
Turn it right side out...
WE'RE DONE!
Yay it's pretty AND easy! I hope you try it! If you do post a picture of it on your blog and send me a link in the comments! If you liked this post and want to see more you can subscribe to me on bloglovin :) Thanks for reading.
Kya
(p.s. this tutorial was made for a LEATHER or FAUX LEATHER pouch/clutch. If you were to make it with a lighter fabric I think it would be best to put a lining in it so it's sturdier. If you want me to make a tutorial on that let me know in the comments)